Teaching Literacy In the Preschool Classroom
Teaching literacy in your preschool classroom includes both reading and writing.
Children learn that letters are symbols, that these symbols create words and those words can be written on paper and then read to gain meaning.
However, this is a process of baby steps. It is a code. A child must break the code by being exposed to and being able to use each of the steps. That is where we come in! It is our job to present these steps while teaching literacy to our preschoolers.
They will not go from being able to rote recite (aka sing the ABC song) to recognizing or printing their name. The best way for teaching literacy is to incorporate into all aspects of your early childhood classroom making it a print rich environment.
Any quality preschool curriculum, whether it is a purchased curriculum, Christian curriculum or one that you create through your theme planning, should be set up in a way that allows literacy to be easily integrated into all interest learning centers. The first thing you will need is an open mind and some creative thinking. Look at each center and brainstorm possibilities.
Teaching Literacy Through a Print Rich Environment
Label the Room
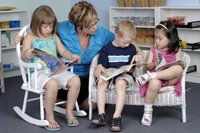
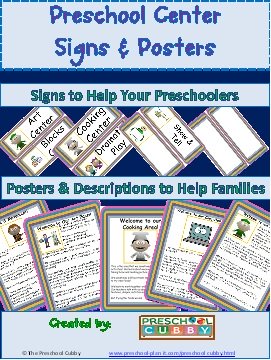
Teaching literacy happens in how you set up the room! Create a print rich environment in your preschool classroom. When you create your center signs and shelf labels include words as well as pictures. Be sure to include various languages that suit your group of children and support their primary home language as well.
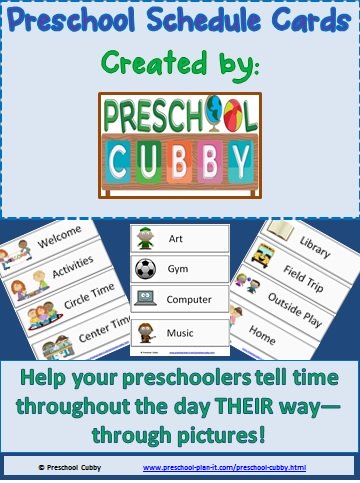
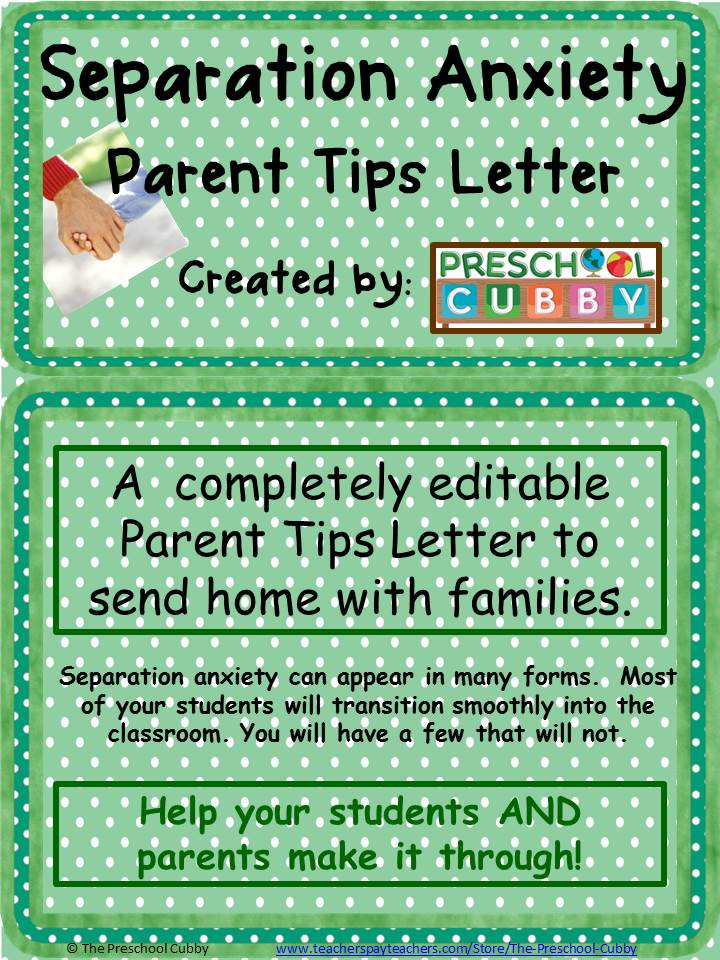
Create your daily schedule in the same manner, using words and pictures. Place your visual schedule at the children's eye level. The children will be able to "read" and "tell" time by looking at this schedule and knowing which activity is coming next. (Having a visual schedule also helps reduce separation anxiety as well because they can "see" when it is time to go home!)
Here are some resources I created that you might be interested in:

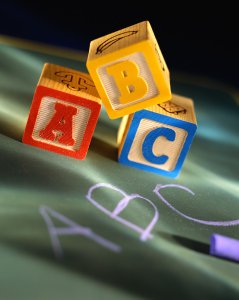
Letter Recognition and Formation
I am not a fan of flashcards for the purpose of "show, repeat, memorize" as a way to learn letters. I do, however, love them displayed in different areas of the environment where children can see them throughout the day.
I know they look adorable as a border of sorts at the top of your classroom walls. However, why are they way up there? They are more for decoration or for the benefit of visiting parents. Sorry, but this is the only benefit to having them 5-7 feet high on the walls! ;)
If the purpose is for visual teaching- teaching literacy- then the children need to see them each day and therefore you need to place them at eye level! Use them as a border around the middle of your walls! They will still look adorable and the children will benefit from them!
There are many ways to use alphabet or flash cards throughout your environment as a way of teaching literacy:
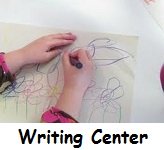
- Place alphabet strips at child eye level at your writing center.
- Place alphabet cards with pictures at eye level on your walls (as discussed previously).
- Place alphabet cards in a box in your library area (for the children to just look through at this center).
- Place alphabet strips and/or cards in an ABC or Alphabet Interest Learning Center.
- Place alphabet cards at your magnetic easel with magnetic letters for the children to match.
I often can find these cards and strips in the teachers' section of the Dollar Store in the summer or at Amazon. Here are some of my favorites!
 |
 |
 |
Teaching Literacy Through Name Recognition and Formation
What is the first word that most children learn to recognize, read and write? Yup! Their own name! This is the BEST place to start! Use their name often and everywhere throughout your classroom!
Upper Case or Lower Case?
Before we talk about ways to incorporate their names in the classroom, let's talk about the age-old question: Do we print their names using lower case letters or print it in all upper case?
Here is my philosophy on this question. Throughout our lives we will NOT see our names printed in all upper case letters. There are a few exceptions such as on computerized printouts when we vote (SMITH, J) or when we write a sentence where we are calling someone's name ("CHERYL!"). As teachers, we should print their names the way in which the children will see them- with the first letter capitalized.
Most children who are printing their names do use all upper case. And that is FINE! They are printing! And let's face it, upper case letters are SO much easier for them to make because most of these letters are blocked with straight lines. Lower case letters have more curves and are more challenging for children's fine motor skills.
Let them print their names the way that they know. But introduce them to lower case and use this language (lower case/upper case; small letters/capital letters) in your conversations with them!
We made labels before the children started school with a picture of an object to represent the child as well as his name. Or sometimes we used photos of the children instead. Nearly a dozen labels were created for each child.
Okay, now let's look at ways to use their names throughout the classroom!
Name Labels
Label everything you can with their names! Include their cubbies, coat hooks, mailboxes and your Birthday Board!
I also use name labels for Circle Time, snack time and other group times. At the beginning of the year, we take a headshot photo of each child. We print several wallet sized color copies of each child's picture. We use these pictures on their name tags that will be used throughout the year.
We glue them onto construction paper cut into shapes. Glue their picture next to their printed name and laminate (use a glue stick as liquid glue will make the ink in the picture run). These name tags are placed at tables or on carpet squares for Circle Time. The children then find their picture and are exposed to their names when searching for their spot!
Disclaimer: We typically let the children choose where they are going to sit for snack or Circle Time. However, there are times when you JUST KNOW that two children need a break from each other and need to not sit together! You know what I mean! On those days, we "assign" spots!
We use these pictures to create a birthday board! We attach the picture to the shape (candle, cake shape, etc.) on the Board Set we are using. This allows the children to find their own birthday and also for the other children to "read" their friends names.
The High Scope Curriculum uses a symbol that represents the first letter of a child's name. The purpose is to provide one more phonological cue for spelling names (i.e. Colby=car, Bob=ball).
Eventually, you will not need a symbol or even a picture. By the middle-ish of the pre-k school year, many children are reading their names without pictures. In January (after Christmas break), we make new name tags for the children. These tags do NOT have pictures AND we add their last name to the back of the shapes before laminating them!
Name/Letter/Word Printing Practice
Preschool children are just beginning to develop the LINK fine motor control required to hold a pen/crayon/marker/pencil. Your primary goal should be to develop this muscle control with a secondary goal of printing their names or printing letters.
There are many ways to develop these muscles and control. Provide activities that require children to use these muscles such as home-made playdough, lacing cards, building with blocks, cutting with scissors, lacing beads--anything that requires using those small muslces.
Name ALWAYS on Creations!
To encourage printing letters and their names, insist on their names being printed on EVERYTHING they create! Many teachers go from child to child with their black sharpie, printing the children's names on their art work--STOP DOING THAT! Instead, try this:
When you go from child to child, let the child know that their name needs to be on their art work so that we all know whose it is! ASK THEM where they would like you to print their name. They will point to a spot. As you print their name, say each letter aloud to them:
"You want your name printed here? Okay. Let's print the letters. C-h-e-r-y-l That says Cheryl!"
Then move on to the next child.
As the year progresses, after asking where they want their name printed, HAND THEM the Sharpie and encourage them to print their own name! If they can only make a "scribble", so be it! Let them print their scribble (you will then need to print their name on the back of the paper when they are done. But let them build confidence in printing what they can!). If they can only print the first letter of their name, so be it!
Example:
"Here Amy! YOU print your name today."
"I don't know how."
"That's okay. Just do the best you can. Let's just print your "A" for now!"
You get the picture!
Teaching Literacy with Sign Up Lists
Is there an area or material that is very popular? Create a "sign up" list for it! Each child prints their name (as best they can) on the list to have a turn with it.
This was very successful at our Computer Center. The children were allowed 5 minute turns each on the computer a couple of times a week. They ALL wanted to hang around the computer to wait for their turn rather than participate in other areas of the classroom. Here was our solution to prevent the "loitering" and provide a way of teaching literacy!
- We placed 2 chairs at the computer. Once for the child whose turn it was and a "waiting" chair for the person whose turn was next. Only these two people could be at the computer. The other children needed to choose an interest center to be in.
- We placed a pad of paper and pen next to the computer tables. Any child who wanted a turn had to "sign up". They would print their name (or their "A" or thier "scribble"!) on the sign up page (the teachers would then go over and print the child's name so we knew whose letter or scribble it was!).
- We set a kitchen timer for 5 minutes. When it went off, the "waiter" had their turn and the next child on the list was told they could sit in the waiting chair with their friend if they wanted.
You would not believe how well this center was managed BY THE CHILDREN! AND, they began to read each other's names from the list. They also learned to use the kitchen timer on their own!
Another version of a sign up list
Provide name cards attached to clothespins. The children then attach their name cards to the sign at the interest center so that everyone knows who is next to have a turn. With this, you are not only encouraging reading and name recognition, but also fine motor development through the use of the clothespins!
Eventually as children learn to write their names, you can provide blank, laminated cards and dry erase markers for them to print their own names on the cards!
Materials For Teaching Literacy
You will need a wide array of materials as you are teaching literacy in your classroom. Literacy is NOT just about writing but also reading--seeing print and symbols in the environment. Children will naturally take advantage of every opportunity to use literacy materials in their work and play.
Teaching Literacy and......YES! Books, Books, Books!
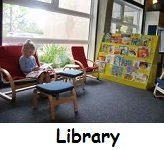
I am always impressed to see books and writing supplies in all areas of the classroom. Connecting reading and writing is what teaching literacy is all about, after all. Nothing makes me happier in a classroom than to see books.......LOTS OF BOOKS.....everywhere in the classroom, not just in the Library! Here are some ideas:
You and I do not ONLY read books while inside a library so let's not limit where the children read!
Provide books in all of your interest learning centers. Provide books about trucks, cars and planes or buildings in the block center; provide books about planting, flowers or bugs in the Science Center next to those seeds they planted or next to the bug jars!
Place Life Cycle PosterPlace children's cookbooks, magazines and newspapers in your Dramatic Play area.
Place art books of different types in your Art Area and near your Easel. Also, place shape/color charts there as well.
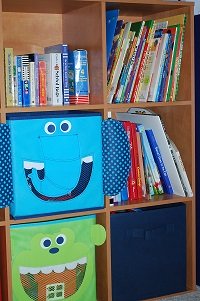
For teaching literacy, it is definitely an advantage for a teacher to have a very, very large supply of books in the classroom, available to use whenever the need arises.
Don't just look for books to go along with your themes. Also look for books that will go along with your preschoolers' lives such as books about moving to a new home, having a new baby, a death in the family and more.
In addition, don't forget about non-fiction books! It's not just about storytime! Non-fiction books are the MOST popular in our classroom!
If you are just starting out check yard sales and monthly books sales at your local library! And, keep them organized! It is always sad when, at the end of the year or end of a theme, we think, "Oh Man! I should have brought out "It's Mine" by Leo Lioni for this Friendship Theme!"
 |
|
Writing Materials
Children enjoy writing in every area of the classroom. They will pretend to take orders in a restaurant, make traffic signs for the block area, write "don't touch" on block structures, put their names on lego structures for display, write their names on their artwork, write thank you notes to the lady in the cafeteria, make greeting cards, etc.
Therefore, a variety of writing materials also need to be available in each center. For more information about preschoolers, their stages of writing and activities to provide in the classroom, go to my Preschool Writing page.
Teaching Literacy Summary
When you provide materials, opportunities, and encouragement you will be amazed at what preschoolers can do!
Most of the teaching literacy that happens in an early childhood classroom happens naturally as children go about their daily business.
Be creative about how to incorporate literacy into your classroom and take advantage of each teachable moment.
Watch the children in your classroom blossom into readers and writers as they "break the code" of literacy, one baby step and activity at a time!
You might also be interested in these pages:

|
|
|
Go to Preschool Professor's HOME Page


